 |
| Star Shaped Boxes |
Dear friends Thank you so much for the support on the
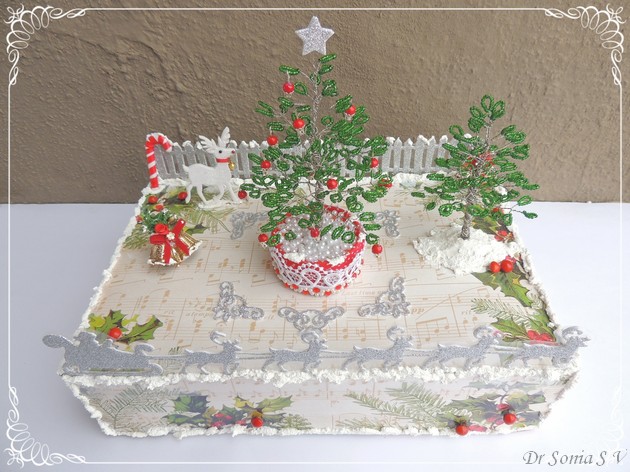
Beaded Christmas Tree diorama.Thrilled to say it came top 3 in 3 separate challenges! This is yet another handmade Christmas tree project!
This stacked
Star shaped boxes Christmas tree is my Guest DT project for
Lulupu's bloghop [Recipe :pattern paper,die cuts,punches,embellishments]
I had earlier posted a
DIY photo frame set with a star shaped box.So many of you asked for a tutorial to the star box…that was nearly a year ago!!Well finally I got around to writing up a tutorial for the star shaped box!
I stacked 5 star shaped boxes [packed with little gifts of course!]to make a Christmas tree.
 |
| Star Shaped Boxes |
How to make a Star shaped Box
 |
| Star Shaped Box tutorial |
-
Stars-You need a star template – Hand cut,Punch or Die cut 4 stars.
-
Card Strip- Cut from thick card stock
-
You need 2 card strips to make the base and lid of your star box.
-
The length of your card strip will be 10 times the side length of your star + 1/2 inch.
-
Width depends on how high you want your star boxes to be.I kept mine 1 inch high and so my card strip was 1 inch + 1/4 inch for tabs.
-
Optional Decorative strip – optionally use pattern paper,ribbon,lace or washi tape to decorate your boxes. I used a strip of pattern paper 1 inch wide to wrap around my star box.
 |
| Star Shaped Box Tutorial |
Score your card strip lengthwise at 1 inch leaving 1/4 inches to create tabs.For larger stars you can keep your tab width at 1/2 inch [that is use a card strip of 1.5 inches wide]
 |
| Star Shaped Box Tutorial |
Score [mark deeply with a blunt pen or bone folder] and
accordion fold your card strip as shown above at intervals equal to the
length of your star side.You’ll need to make
10 “sides” plus a 1/2 inch tab for gluing.
 |
| Star Shaped Box Tutorial |
At the accordion fold lines on the
1/4 inch part of the strip you had earlier scored off ,
snip off triangles.You will create gluing tabs to help adhere the card strip to your star .
 |
| Star Shaped Box Tutorial |
Fold these gluing tab wedges at 90 degrees.
 |
| Star Shaped Box Tutorial |
Apply glue on the gluing tabs one by one and stick under a star to snugly fit along the side of a star.
When you are gluing the tabs you may notice a
jutting portion of your glue tab as shown above..
snip that off so that your next glue tab can snugly hug your star![
Just a little trick to get a neater star!]
 |
| Star Shaped Box Tutorial |
Keep
gluing all your tabs one by one.Spend some time to make sure each tab adheres well to your star otherwise your box will fall apart and you’ll be cursing in despair!
The final
1/2 inch glue tab on your card strip can be stuck either
inside or outside the star box.If you are going to use pattern paper to line the outside of your star box stick the tab outside as the pattern paper will hide it.
 |
| Star Shaped Box Tutorial |
This is how the under surface of your star box will look once all the tabs are glued.You can adhere a same size or a slightly bigger star atop it.
 |
| Star Shaped Box Tutorial |
To line your star base with pattern paper simply apply glue and wrap it around
creasing along the points as you go along with your nails to keep the star points sharp and crisp!
Here are the 3 sizes of star shaped boxes and their lids.Well how do you make the lid you may be wondering! That is the best part…you can make it in exactly the same way using the same dimensions!
 |
| Star Shaped Boxes |
The star shape allows a lot of leeway and you can manipulate 2 similar sized star bases to make one the base and one the lid of your star box.
So you don't actually have to break your head calculating how many millimetres more to make the lid!
 |
| Star Shaped Box |
Here is a close-up photo of the lid of my star shaped box.In these boxes I glued a star of slightly
larger size on the basic star box.Using a larger size star adds a bit of
extra dimension and also serve the practical purpose of making your boxes
easier to open!
If you want to handcut your stars you can use this stacked stars template.
In the picture below you can see the smallest star box serving as the base of my
Star Box Christmas tree.
 |
| Star Shaped Box |
I used lots of tiny star shaped brass beads on my boxes in keeping with the starry festive theme!I placed my Christmas tree on lacy heart Spellbinder die cuts [I love this die and you can see more in my
Foam jewellery tutorial ]and also placed a lacy heart atop my
Star Box christmas tree .
 |
| Star Shaped Box |
Made the wooden bead -cloth doll into a fairy by gluing on feather wings and a shimmery flower and pearl beads to her waist.
 |
| Star Shaped Box |
I hope you liked this tutorial to make a star shaped box.Apart from serving as a gift box and decor piece you can use your star box as a shadow box [use an OHP to make the lid ]or even personalise it to showcase a favorite photo.
 |
| Star Shaped Box |
Dont forget to participate in the
Lulupu Bloghop — 2 lucky people who leave comments along the hop will win some amazing prizes + 1 lucky hopper can win a Martha Stewart punch from Lulupu! Thank you so much Karuna for inviting me to be part of your awesome celebration.
Supplies:Dies : Sizzix stars,Spellbinder lacy hearts-Itsy Bitsy.Punches -MS heart-Mansi,Pattern Paper- DCWV botanical ,Feathers,Butterflies-Itsy Bitsy.Beaded Lace and star beads- local Fancy store Sahakaranagar


